
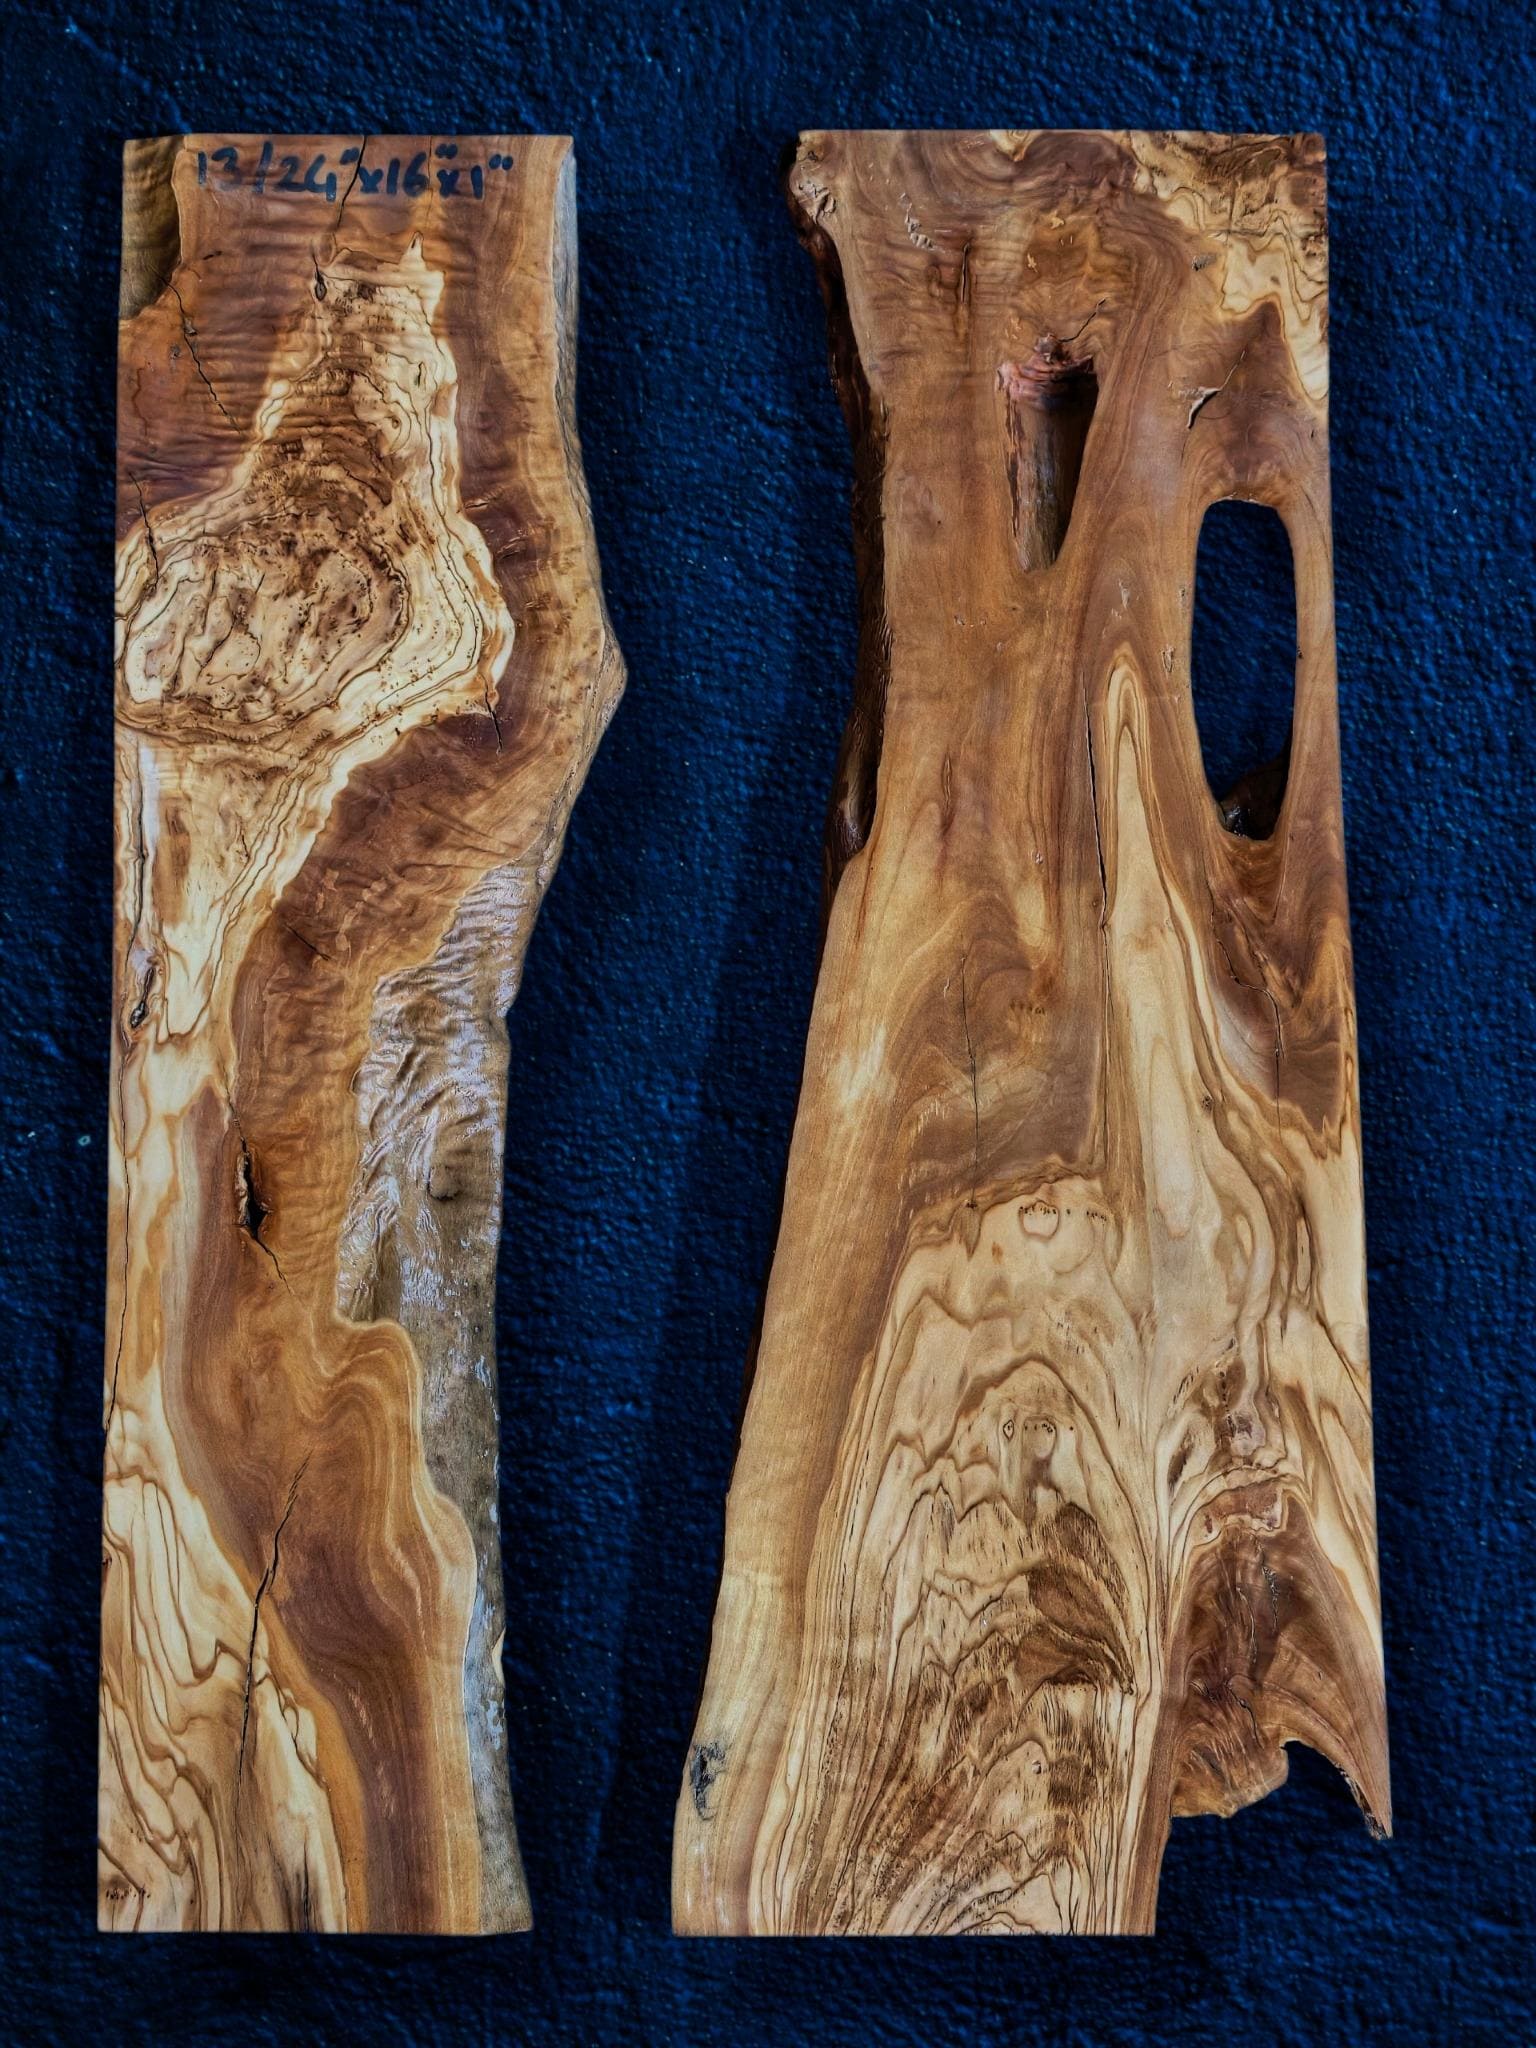
Choose an epoxy colour for olive wood by deciding what you want the river to show. Clear resin makes the space beneath the surface part of the design. Opaque colour creates a solid visual boundary around the wood. A translucent tint sits between these approaches, adding colour while allowing some view through the pour. The photograph shows separate olive wood pieces with different grain patterns and an elongated opening in one piece. It is a wood-layout example, with no coloured resin shown. The best colour comparison starts with the actual wood you plan to use.
When does clear epoxy make sense?
Clear epoxy suits a design where you want to see the edge profile and look into the space between the pieces. Consider the entire view: the underside, base, floor and nearby objects may become visible through the river. Include these elements in your design sketch. Ask your maker to explain the preparation needed to achieve your chosen appearance. A transparent area makes internal details part of the finished result; it is worth agreeing which features you want emphasised before selecting a resin and finish system.
How does black or another opaque colour change the composition?
An opaque river directs attention to the silhouette where wood meets resin. Black can create a strong contrast beside lighter wood areas, while another solid colour can connect the top with details already in the room. These are visual choices, so compare alternatives with your own flooring, wall colour and lighting. Use coloured paper beneath a proposed gap as a quick way to judge the broad colour relationship. Treat this as a composition exercise, not as a prediction of cured resin, gloss or depth. A physical resin sample is the next step for assessing those qualities.
What should you check with blue or translucent epoxy?
Specify whether you mean an opaque blue, a transparent blue tint or an effect pigment. The colour name alone leaves room for very different results. For a translucent river, assess the sample against both light and dark backgrounds so you can see how the view beneath it affects your impression. Agree the intended sample thickness with your maker and compare it with the project's planned resin depth. Photograph the sample beside the selected wood as a reference, while recognising that a screen is not a reliable substitute for seeing colour in person.
What makes a useful colour sample?
- The selected resin and a compatible pigment or tint.
- A recorded colour recipe that follows the manufacturer's limits.
- A representative depth and the proposed surface finish.
- The wood or a relevant offcut beside the sample.
- A check in the lighting where the finished piece will be used.
Appearance and exposure requirements also belong in the discussion. WEST SYSTEM's finish-coating guidance explains the role of a compatible finish in protecting its epoxy system from sunlight and recommends a test panel. Follow the requirements for the particular resin and finish your maker selects.
Choose the wood and colour together
Browse olive wood pieces for resin projects, then use our river-layout guide to plan the channel. If you are commissioning the work, include the colour sample and desired transparency in your custom-table brief. Confirm the listing's contents separately; a guide's design example does not define an individual product package.