
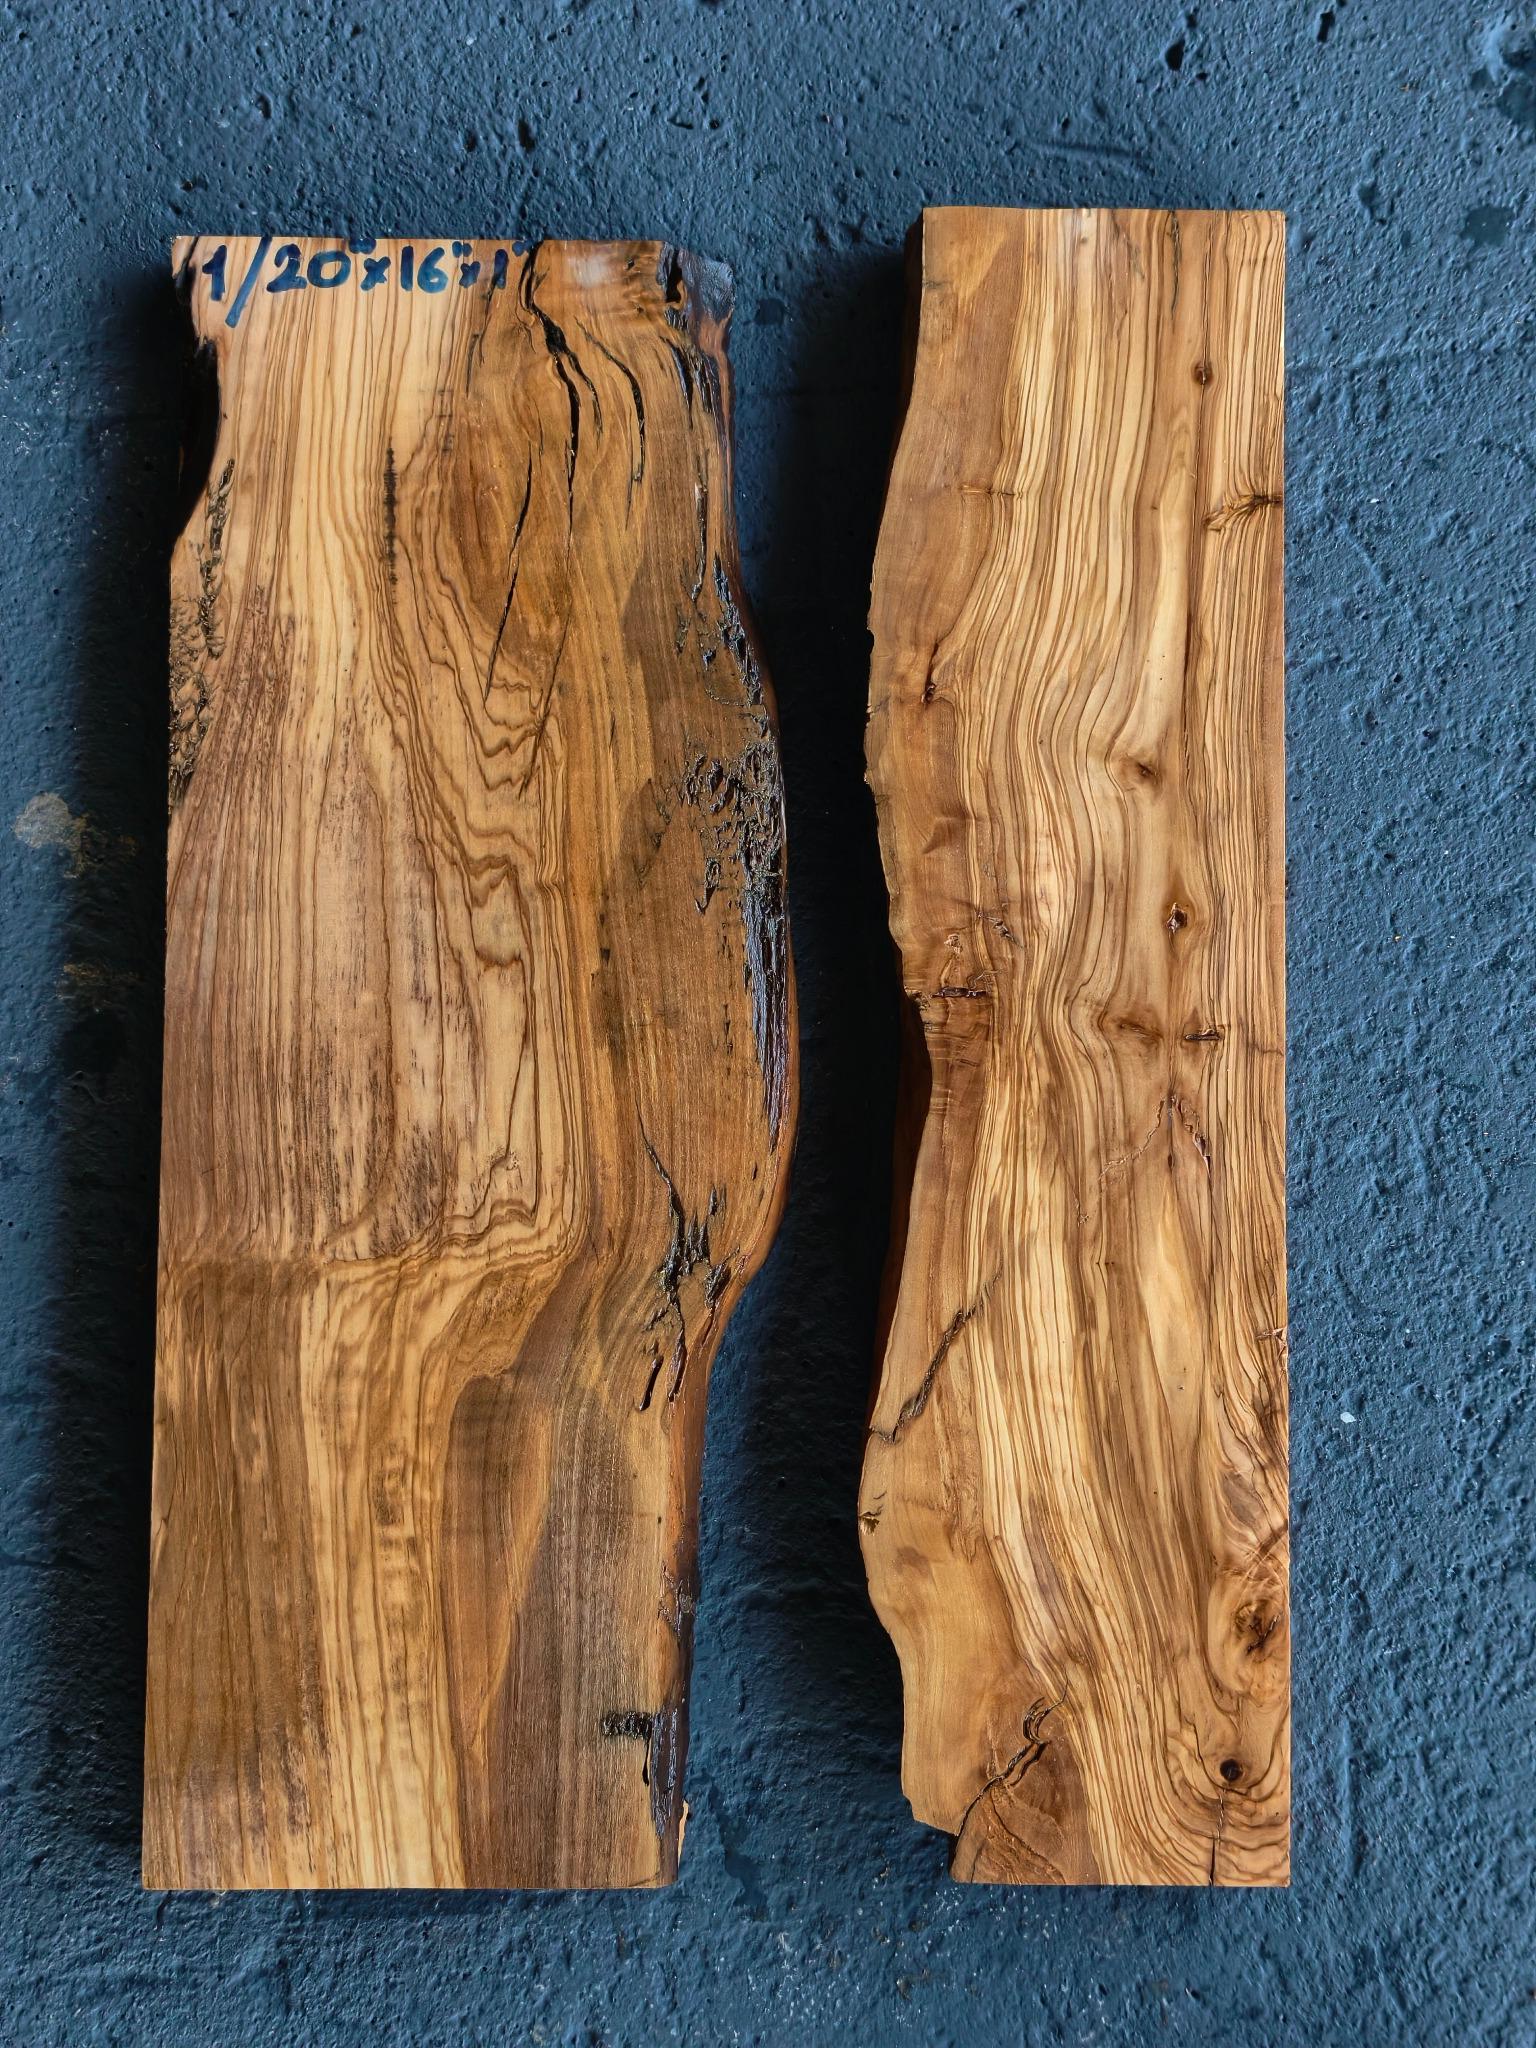
Plan a live edge olive wood shelf by defining its usable depth, the edge that meets the wall and the mounting system. Choose the wood and supports together. The outline that looks attractive from the front also needs to suit the objects you intend to display and the actual wall construction. The photograph shows separate wood pieces with different edge profiles. They illustrate shape selection for a project; they are not pictured as completed shelves or as a supplied shelf kit.
How much usable shelf depth do you need?
Begin with the objects that will sit on the shelf. Trace the footprint of a representative book, frame, bowl or other display item onto paper. Include the intended position of that object relative to the front edge. Then compare the footprint with the wood's usable outline at that point. An irregular shelf can be deep in one place and shallow in another. Record depth at several positions along its length, including the narrow sections. The greatest outside depth is useful for checking how far the shelf projects into the room; the shallower sections determine where particular objects can be placed.
Which edge will meet the wall?
Mark the wall line on your full-size template. Decide whether the natural edge will face into the room and whether the proposed back edge needs machining. Ask the maker to confirm the preparation required for the particular piece. Check the finished plan against nearby doors, switches, corners and furniture. For a pair of shelves, compare their outlines individually. Matching their overall length can create a visual relationship, while their grain and front-edge shapes may remain different. Specify whether your priority is equal usable depth, a shared visual style or a particular arrangement on the wall.
What changes when the brackets are concealed?
Concealed supports need space within the shelf and suitable fixing points in the wall. As a concrete example, Rockler's I-Semble installation guide describes posts fitted into wall studs and holes in the shelf back, together with recesses for the baseplates. That arrangement is specific to that hardware. For your installation, use the selected manufacturer's current requirements for shelf dimensions, drilling, fasteners, wall construction and loads. Ask the installer to assess the wood around the proposed support positions, including any openings. The weight of the shelf itself belongs in that assessment alongside the objects it will carry.
What should your shelf brief include?
- Number of shelves and intended room position.
- Target finished length, usable depth and thickness, with units.
- A photograph of the wall and a description of its construction, if known.
- Objects to be displayed and the proposed mounting hardware.
- The chosen wood listing and the preparation you want quoted.
The simplest way to test the layout
Use a paper outline on a work surface to test the object arrangement, then mark the intended wall position with removable tape suitable for that wall finish. Have the installation plan checked before drilling. This separates the visual decision from the mounting decision while giving your maker a clear brief. Browse olive wood for your next project, read how to compare usable and overall dimensions, or ask about the preparation of a particular piece.