
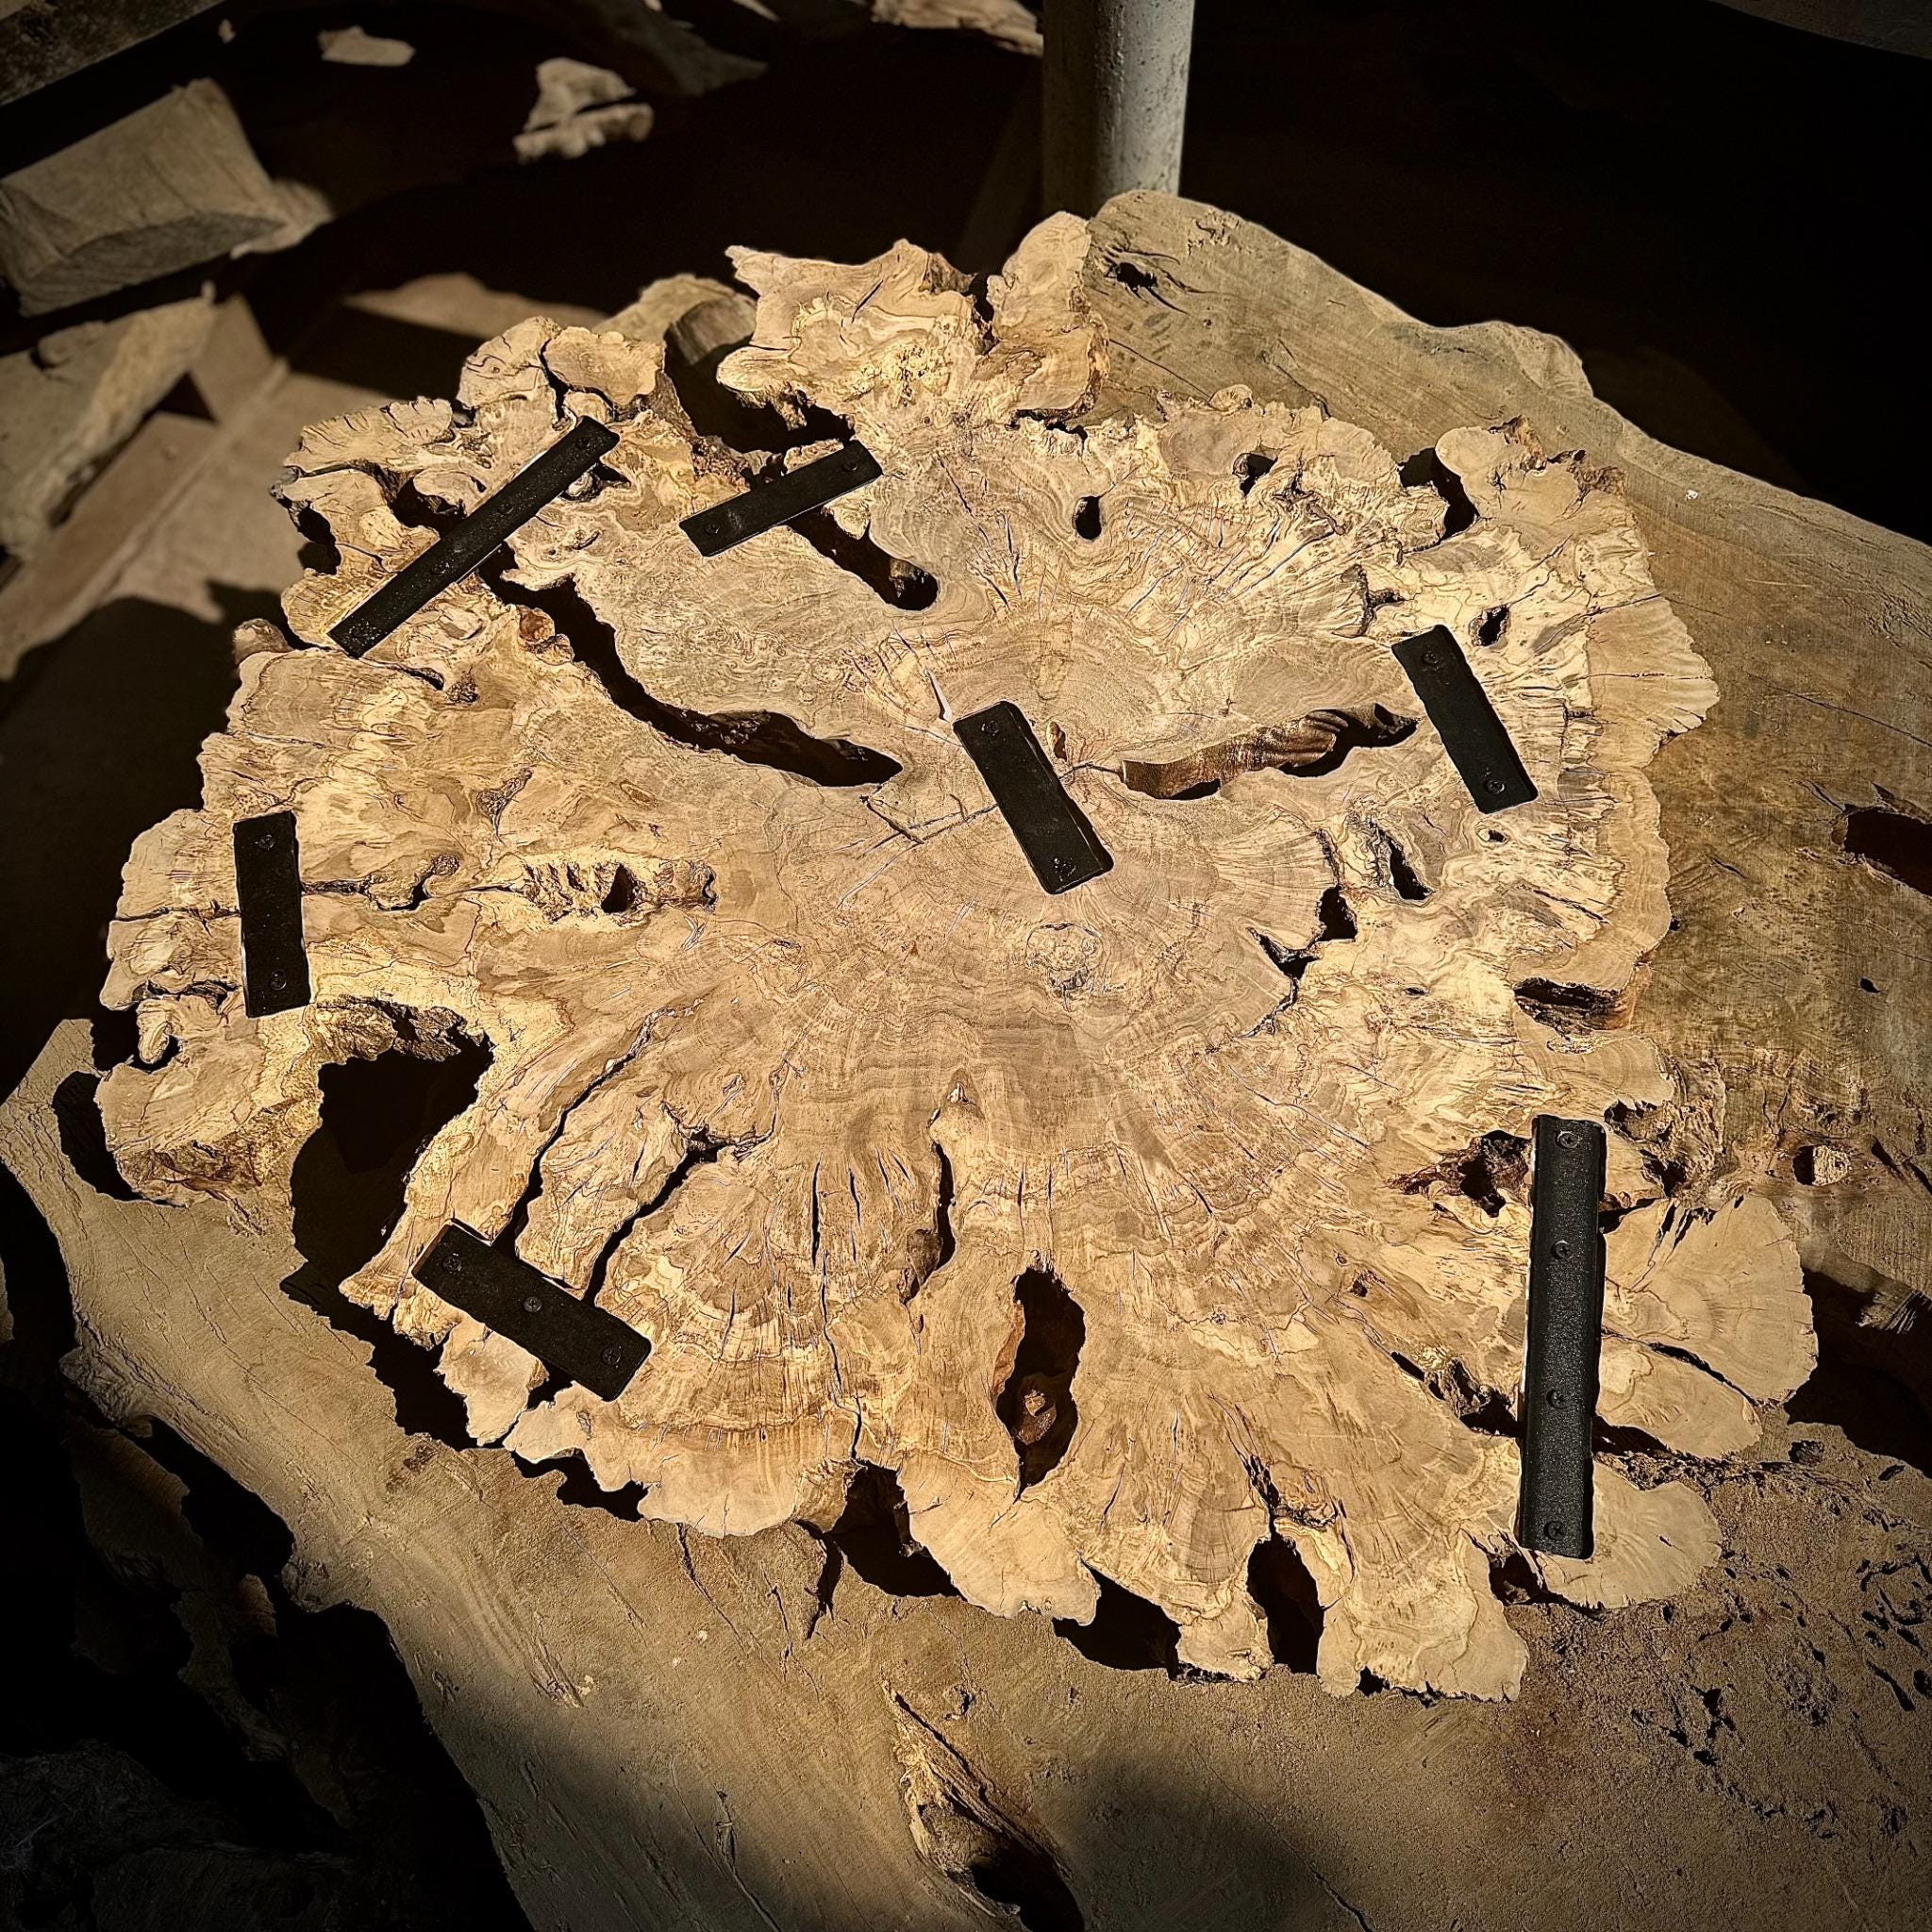
The right olive wood slab thickness depends on your finished tabletop design, its support arrangement and the preparation still required. Start with the thickness you want after machining and sanding, then confirm whether the listing describes the supplied wood or a finished component. A stated slab thickness and a finished tabletop target can represent different stages. The photograph shows the underside of an irregular root slice with metal bars. It is an example of a visible preparation detail. The photograph by itself establishes neither the thickness nor a load rating.
Which thickness should you ask the seller to confirm?
Use separate lines for the wood as supplied and the finished part your project requires. Ask where the supplied thickness is measured and whether variation across the piece has been recorded. For two-piece layouts, confirm the information for both pieces. This lets your maker assess the pair against one intended finished surface.
- Supplied thickness: the measurement and units stated for the wood you are buying.
- Preparation included: the actual flattening, sanding or other work described in that listing.
- Finished target: the dimension your maker needs after the remaining work.
- Support plan: the base, fixing arrangement and intended use of the finished piece.
How does machining affect the calculation?
Removing material from either face reduces thickness. Write each planned operation into a simple allowance calculation rather than choosing a general allowance for every slab. The maker should assess the individual piece before committing to the finished result. Hypothetical arithmetic example: 40 mm supplied thickness − 3 mm removed from one face − 2 mm removed from the other face = 35 mm remaining. These are illustrative numbers, not recommended removal amounts or a promise about any OliveWoodSlab product. If further sanding or machining is planned, include it in the maker's assessment.
Is there one best thickness for every olive wood table?
A thickness number alone does not define the complete table. A console, a small side table and a dining surface have different layouts and support requirements. Natural openings also change where fixings can be positioned. Give your maker the intended overall dimensions, proposed support locations and clear photographs of both faces before finalizing the specification. For an epoxy project, discuss the planned wood level, resin level and finishing sequence together. Keep the desired finished thickness separate from the epoxy manufacturer's permitted pour depth. Those measurements answer different questions.
What does the underside photograph help you check?
It helps you ask specific questions: Are bars or other fittings included? Where are they positioned? Could they affect your proposed base or machining plan? Confirm these details for the actual listing you select. A photo from a guide is a visual example, while the individual product description defines what is supplied.
A concise enquiry you can send
“I am considering this listing: [link]. My finished tabletop target is [length × width × thickness, with units]. The intended base is [description]. Please confirm the supplied thickness, preparation included, and any underside details relevant to this plan.” Explore available olive wood slabs and table components. For the next step, read raw, prepared and finished olive wood or send the listing and your project dimensions.