
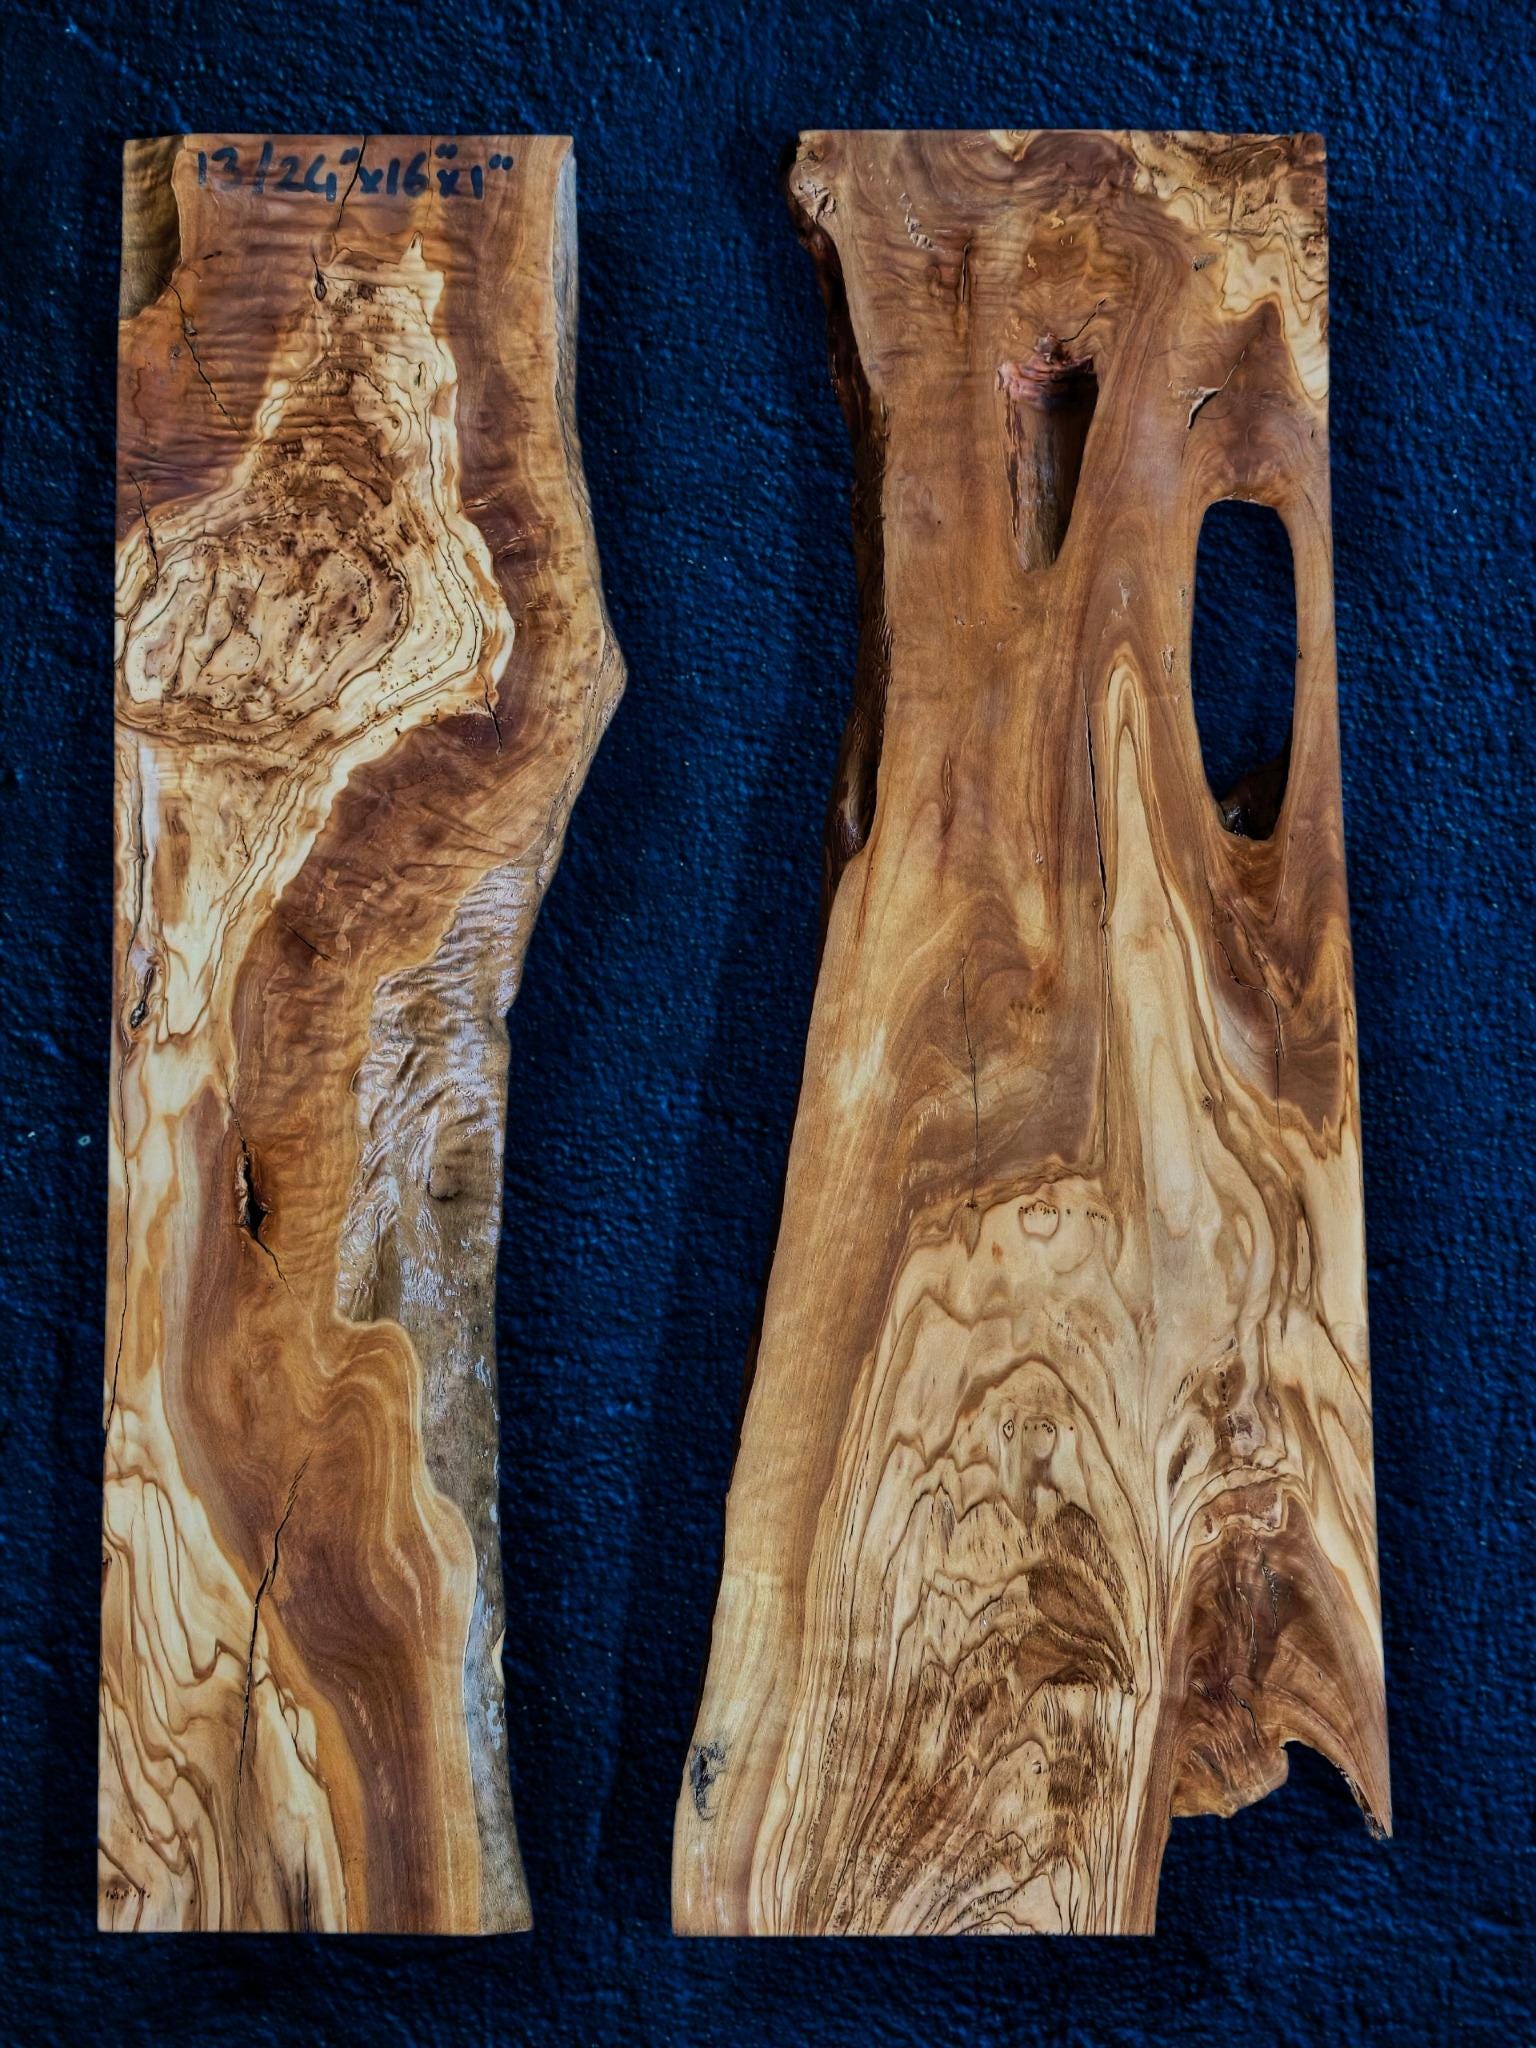
A small olive wood resin project starts with a layout: the finished outline, the grain you want to feature and the space reserved for resin. Decorative trays and art panels can use a compact composition, but each project still needs the right wood dimensions, preparation and finishing system. Select the individual pieces around that plan. In the photograph, one piece has a prominent swirling grain area while the other has a long opening. Those visible details suggest different focal points. Treat them as examples of how to assess a photograph, and confirm the dimensions and condition of the product you actually choose.
Which project are you making?
- Decorative tray: define the finished outline, display surface, edge treatment and handle positions if handles are planned.
- Art panel: decide its orientation, visible face, finished weight and how it will be displayed or mounted.
- Practice sample: use a small test piece to explore the appearance of the selected coating or pigment system before committing to the main composition.
Keep the intended use precise. A decorative tray and a surface intended for direct food contact need different purchasing and finish checks. For a food-contact project, confirm suitability for the intended conditions with the coating or resin manufacturer, including its curing requirements.
How do you keep an interesting grain feature?
Draw the finished outside shape at full size on paper. On the actual wood, use a removable template to explore different cut positions. Place the grain feature where you want the viewer's attention, then mark the proposed trimming lines. Allow your maker to assess the material required for those cuts and the final preparation. A photograph of the whole piece helps with composition. Close photographs help identify which details you want to retain. For a piece with an opening, decide whether the opening will remain within the finished shape, be filled as part of the design, or sit outside the cutting line.
What needs space besides the wood?
Account for the intended resin border, any gap between pieces and planned fittings. For example, a handle position should be considered with the material underneath it and the hardware instructions. A wall panel needs a mounting plan appropriate to the completed piece. Confirm these details with the maker before finalizing the outline. For resin quantity, measure the spaces to be filled after the wood is arranged. Separate a surface coating from a deeper filled opening in your plan. The selected product's technical instructions govern which application it supports, its mix ratio and how it is used.
What should you check before buying the wood?
- The number of pieces included and their stated dimensions.
- Whether the photos show the exact pieces or illustrate the offered selection.
- The supplied preparation and work needed for your finished design.
- The visible features you want to preserve and the proposed cut outline.
Start with OliveWoodSlab's available wood pieces and sets. Our guides to exact-piece and example photographs and supplied preparation help you connect the visual idea to what the listing includes. For a specific layout question, send the product link and your intended finished outline.