
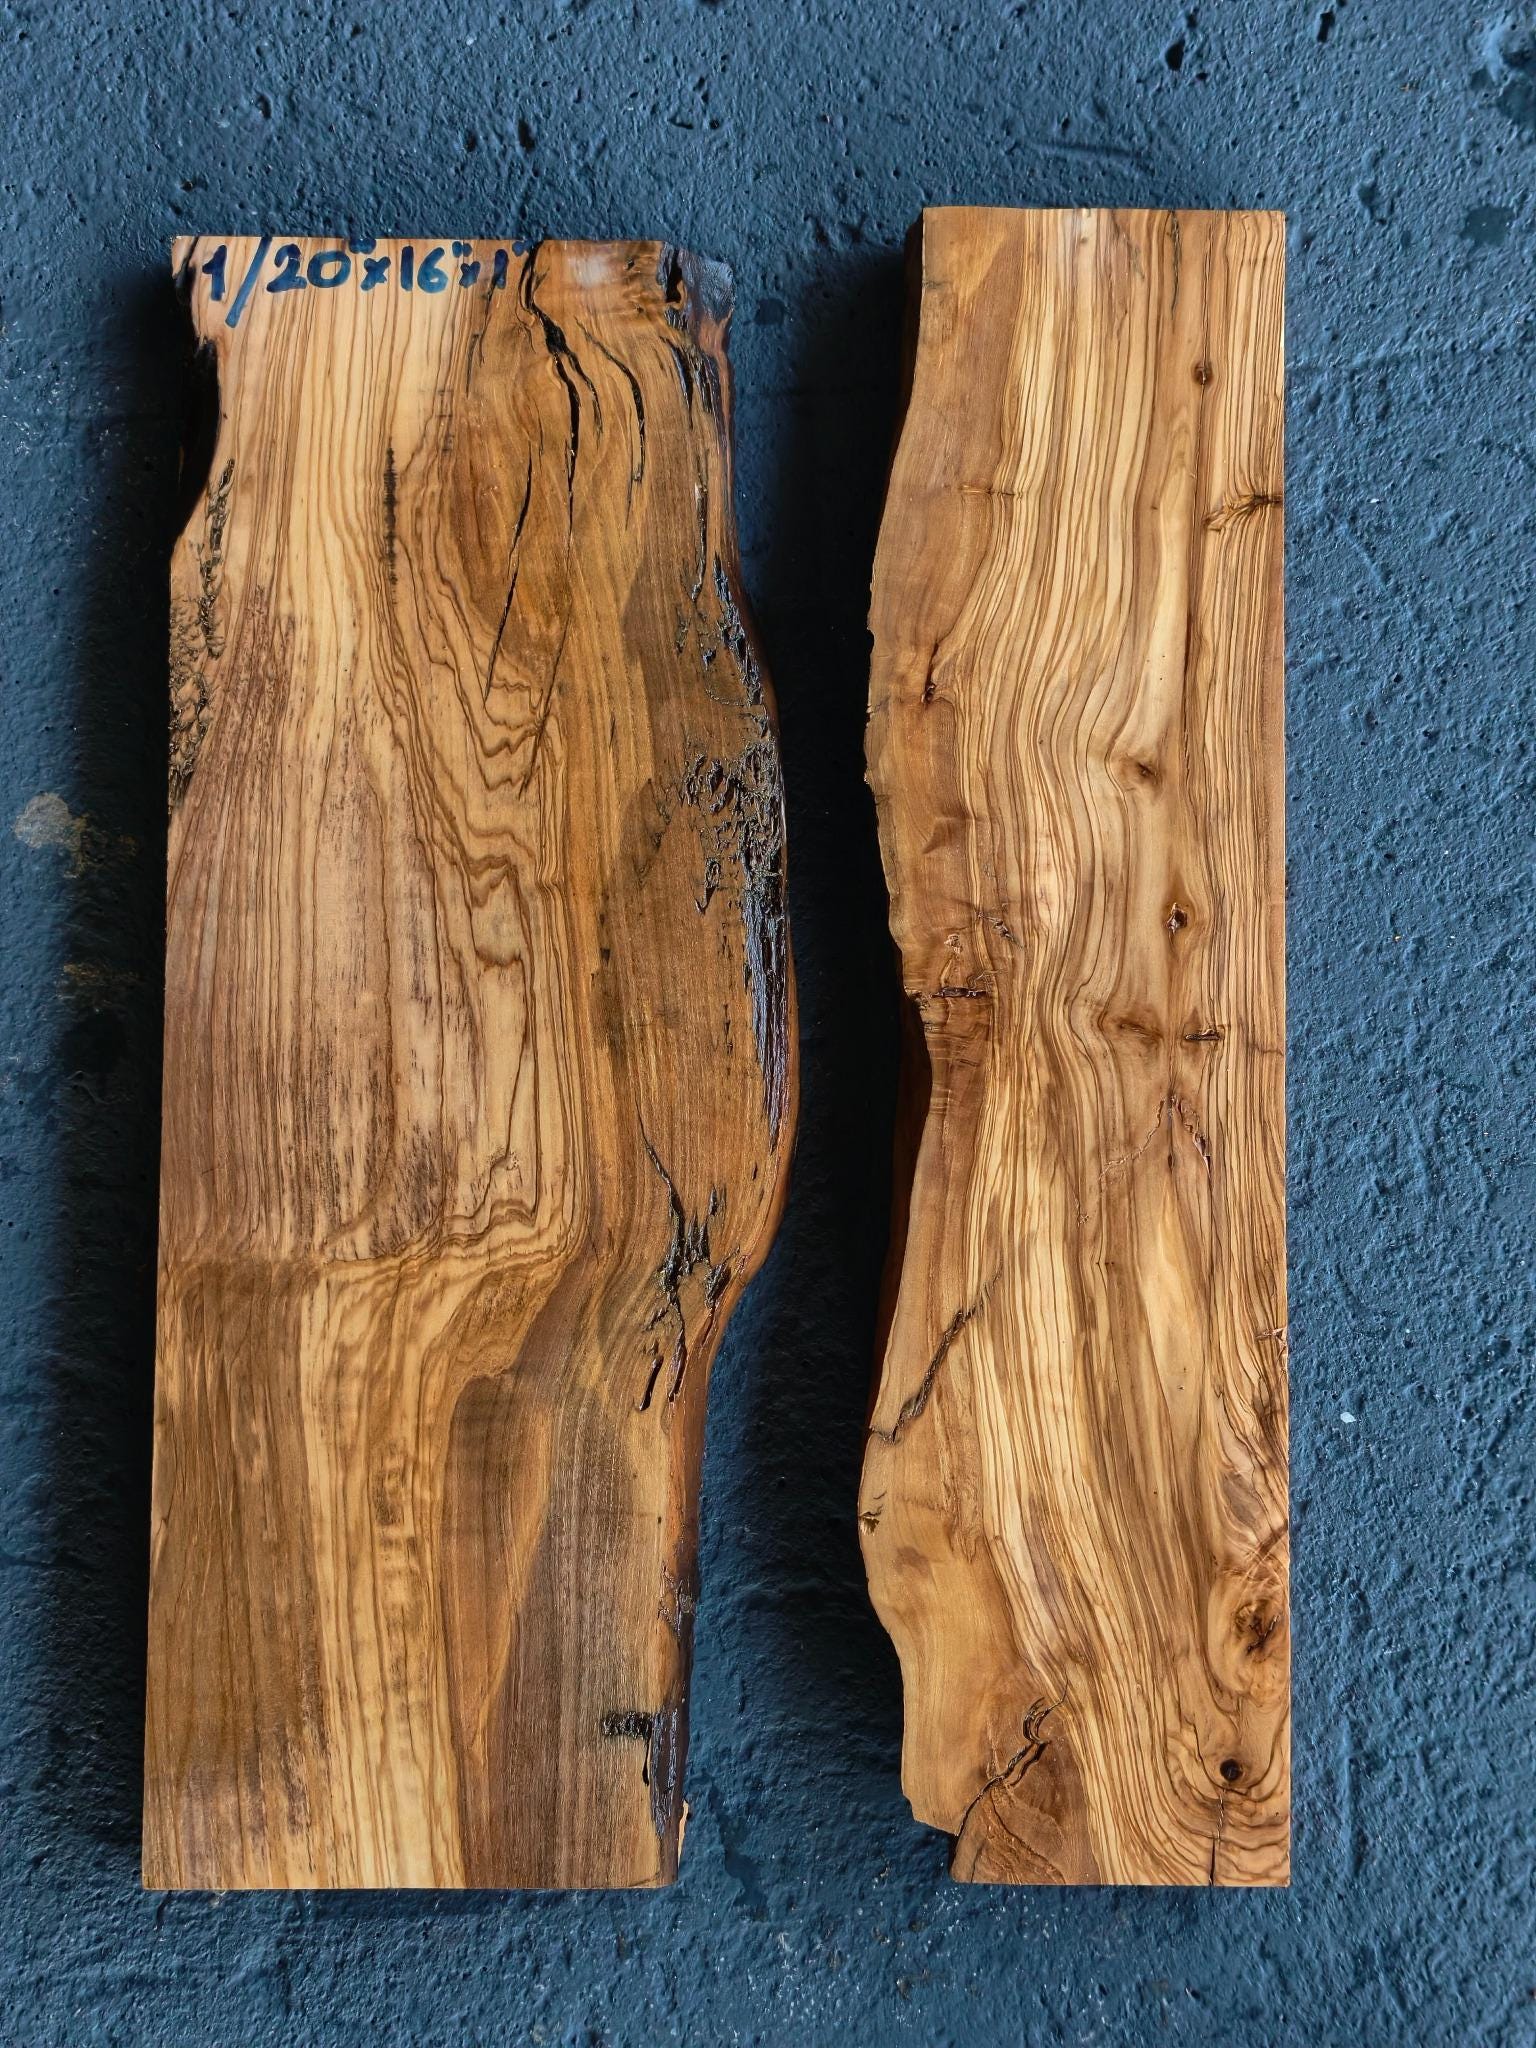
Kiln-dried olive wood gives you a stated drying history to include in your project planning. The next questions are equally practical: what preparation does your chosen piece include, how will its outline fit the design, and what does your intended process require? A simple arrival record and layout plan connect the wood you ordered with the object you want to make.
What does kiln-dried tell you?
OliveWoodSlab's olive wood is kiln-dried. This describes the drying process; the individual listing describes the supplied product, measurements and surface preparation. Read these facts together when comparing a raw slice, a prepared river set or a finished tabletop. Wood exchanges moisture with surrounding air in response to relative humidity, temperature and its existing moisture content. This relationship continues after kiln drying. The USDA Wood Handbook's chapter on moisture relations explains this behavior. Treat the drying history, current moisture reading and project-specific workshop requirements as separate pieces of information.
Make an arrival record
Keep the product reference and selected option with your project notes. Record the number of pieces received, their measurements and the preparation described for the order. A few clear photographs of the faces and edges give you a useful starting reference before you change the layout or begin any work. Separate overall dimensions from the dimensions your design needs. An irregular outline can fit within a stated envelope while leaving a different usable shape inside it. Mark the areas that matter to your finished design rather than relying only on maximum length and width.
Match the supplied condition to your next step
Read the listing for CNC work, sanding or any applied oil or finish. Those details belong to the specific piece and selected option. A description of a prepared face, for example, should remain separate in your notes from work you intend to do elsewhere on the piece. Create a short sequence for your own project: layout, any further sizing or preparation, assembly and the intended finish. Let the requirements of your chosen process determine the relevant checks. Use your product manufacturer's instructions or your maker's specification where they apply.
Plan the layout before committing to a shape
Trace the footprint on paper or cardboard and mark the grain direction, edge outline and visible openings. For a multi-piece set, give every piece a simple identifier so you can compare arrangements and return to the one you prefer. Keep the proposed finished outline separate from the wood outlines. This makes it easier to see which areas are wood, where your design introduces another material, and how the selected arrangement uses the pieces. For a furniture project, include the intended base or mounting area in that drawing as a planning reference.
Your workshop planning checklist
- Save the product reference and selected order option.
- Record the supplied count, measurements and surface condition.
- Draw the wood outlines and the intended finished footprint.
- List the remaining work required by your design.
- Check the instructions relevant to your chosen materials and process.
Explore kiln-dried olive wood at OliveWoodSlab and compare each listing against your project notes. Start with the product type and dimensions, then choose the preparation and photo-selection format that suit the way you plan to work.