
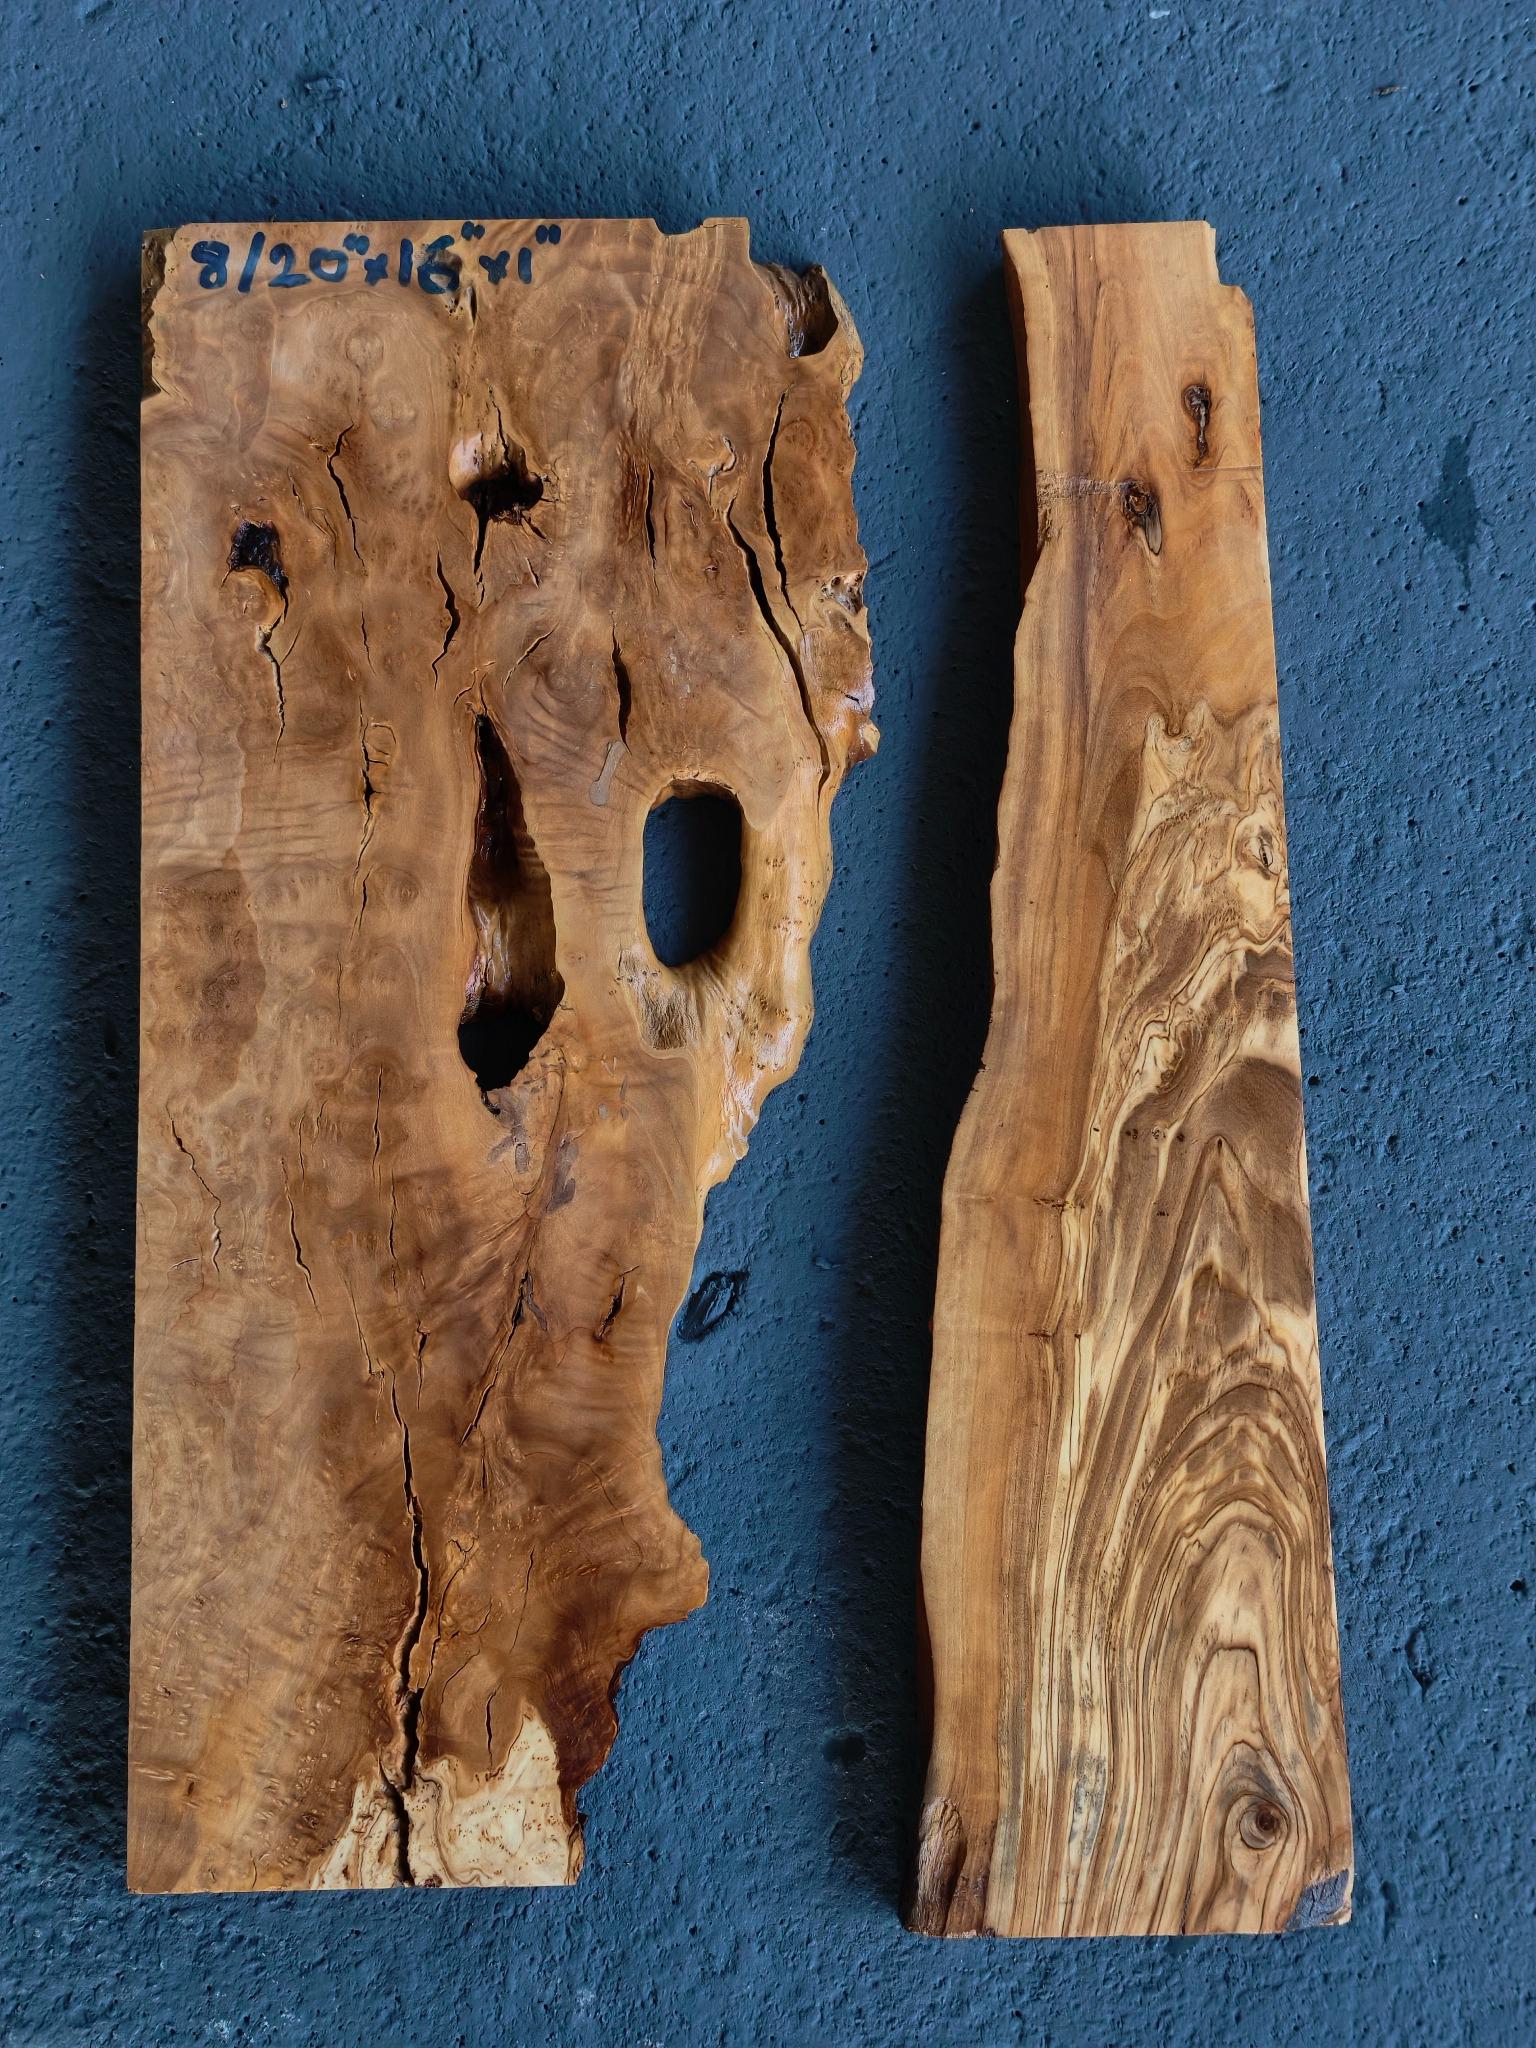
A live-edge olive wood slab has a natural outline, so a single width measurement tells only part of its story. Your project may depend on a different part of the slab from the one that establishes its widest point. Reading measurements together with the photographs helps you compare products on the same basis.
Separate the overall outline from usable space
Overall dimensions describe the extent of the wood at the stated measurement points. Usable space is the part that suits your particular design. A flowing furniture outline might incorporate an edge curve, while a rectangular project could require a more regular area within that same slab. There is therefore no single usable-width figure that suits every project. Decide which natural edges, openings and corners you want to include, then compare that outline with the available measurements.
Read width at more than one position
Where a listing provides top, middle and bottom widths, retain all of them in your comparison. The widest reading does not describe the whole length. A narrowing centre or inward curve may matter more to your plan than a broad end. Identify where each measurement was taken. Use labelled photographs when available, and look at the relationship between the measuring line and the edges. This keeps a width measured at one end from being treated as a continuous dimension throughout the slab.
Keep wood width separate from a river gap
For a two-piece set, distinguish the individual piece widths from the width of the arranged pair. The complete arrangement may include open space between the pieces. Moving them farther apart changes that arrangement, even though the pieces themselves remain the same. A photograph can help explain the layout, but the written dimensions should tell you what has actually been measured. Keep those measurement definitions when comparing olive wood river sets with individual slabs.
Use one unit system for your comparison
Record all candidate products in either centimetres or inches before comparing them. One inch equals 2.54 centimetres. Exact unit conversion and the precision of the original product measurement are separate matters. Example: a stated 20-inch measurement converts mathematically to 50.8 centimetres. A listing that uses a nominal size category may describe dimensions differently. Follow its actual measurement notes rather than treating every size label as a precise conversion or adding an unstated tolerance.
Read thickness and photographs together
Thickness belongs in its own line of your comparison. Use the stated thickness and preparation details for the selected item or option. A top-view photograph is useful for studying the outline, but it does not reliably establish thickness. Also check whether the photographs show the specific piece supplied or illustrate a selection of similar products. Dimensions for a photographed example should not silently become a promise about another piece.
Make a simple comparison sheet
- Product or piece reference.
- Length, stated width positions and thickness.
- Whether dimensions describe one piece, a set or an arranged layout.
- Your intended project outline and the features it will include.
- Photo-selection terms and the selected preparation option.
A paper sketch beside this list can make differences easy to see. Browse larger olive wood pieces or explore the full shop, then compare the dimensions that matter to your design.