
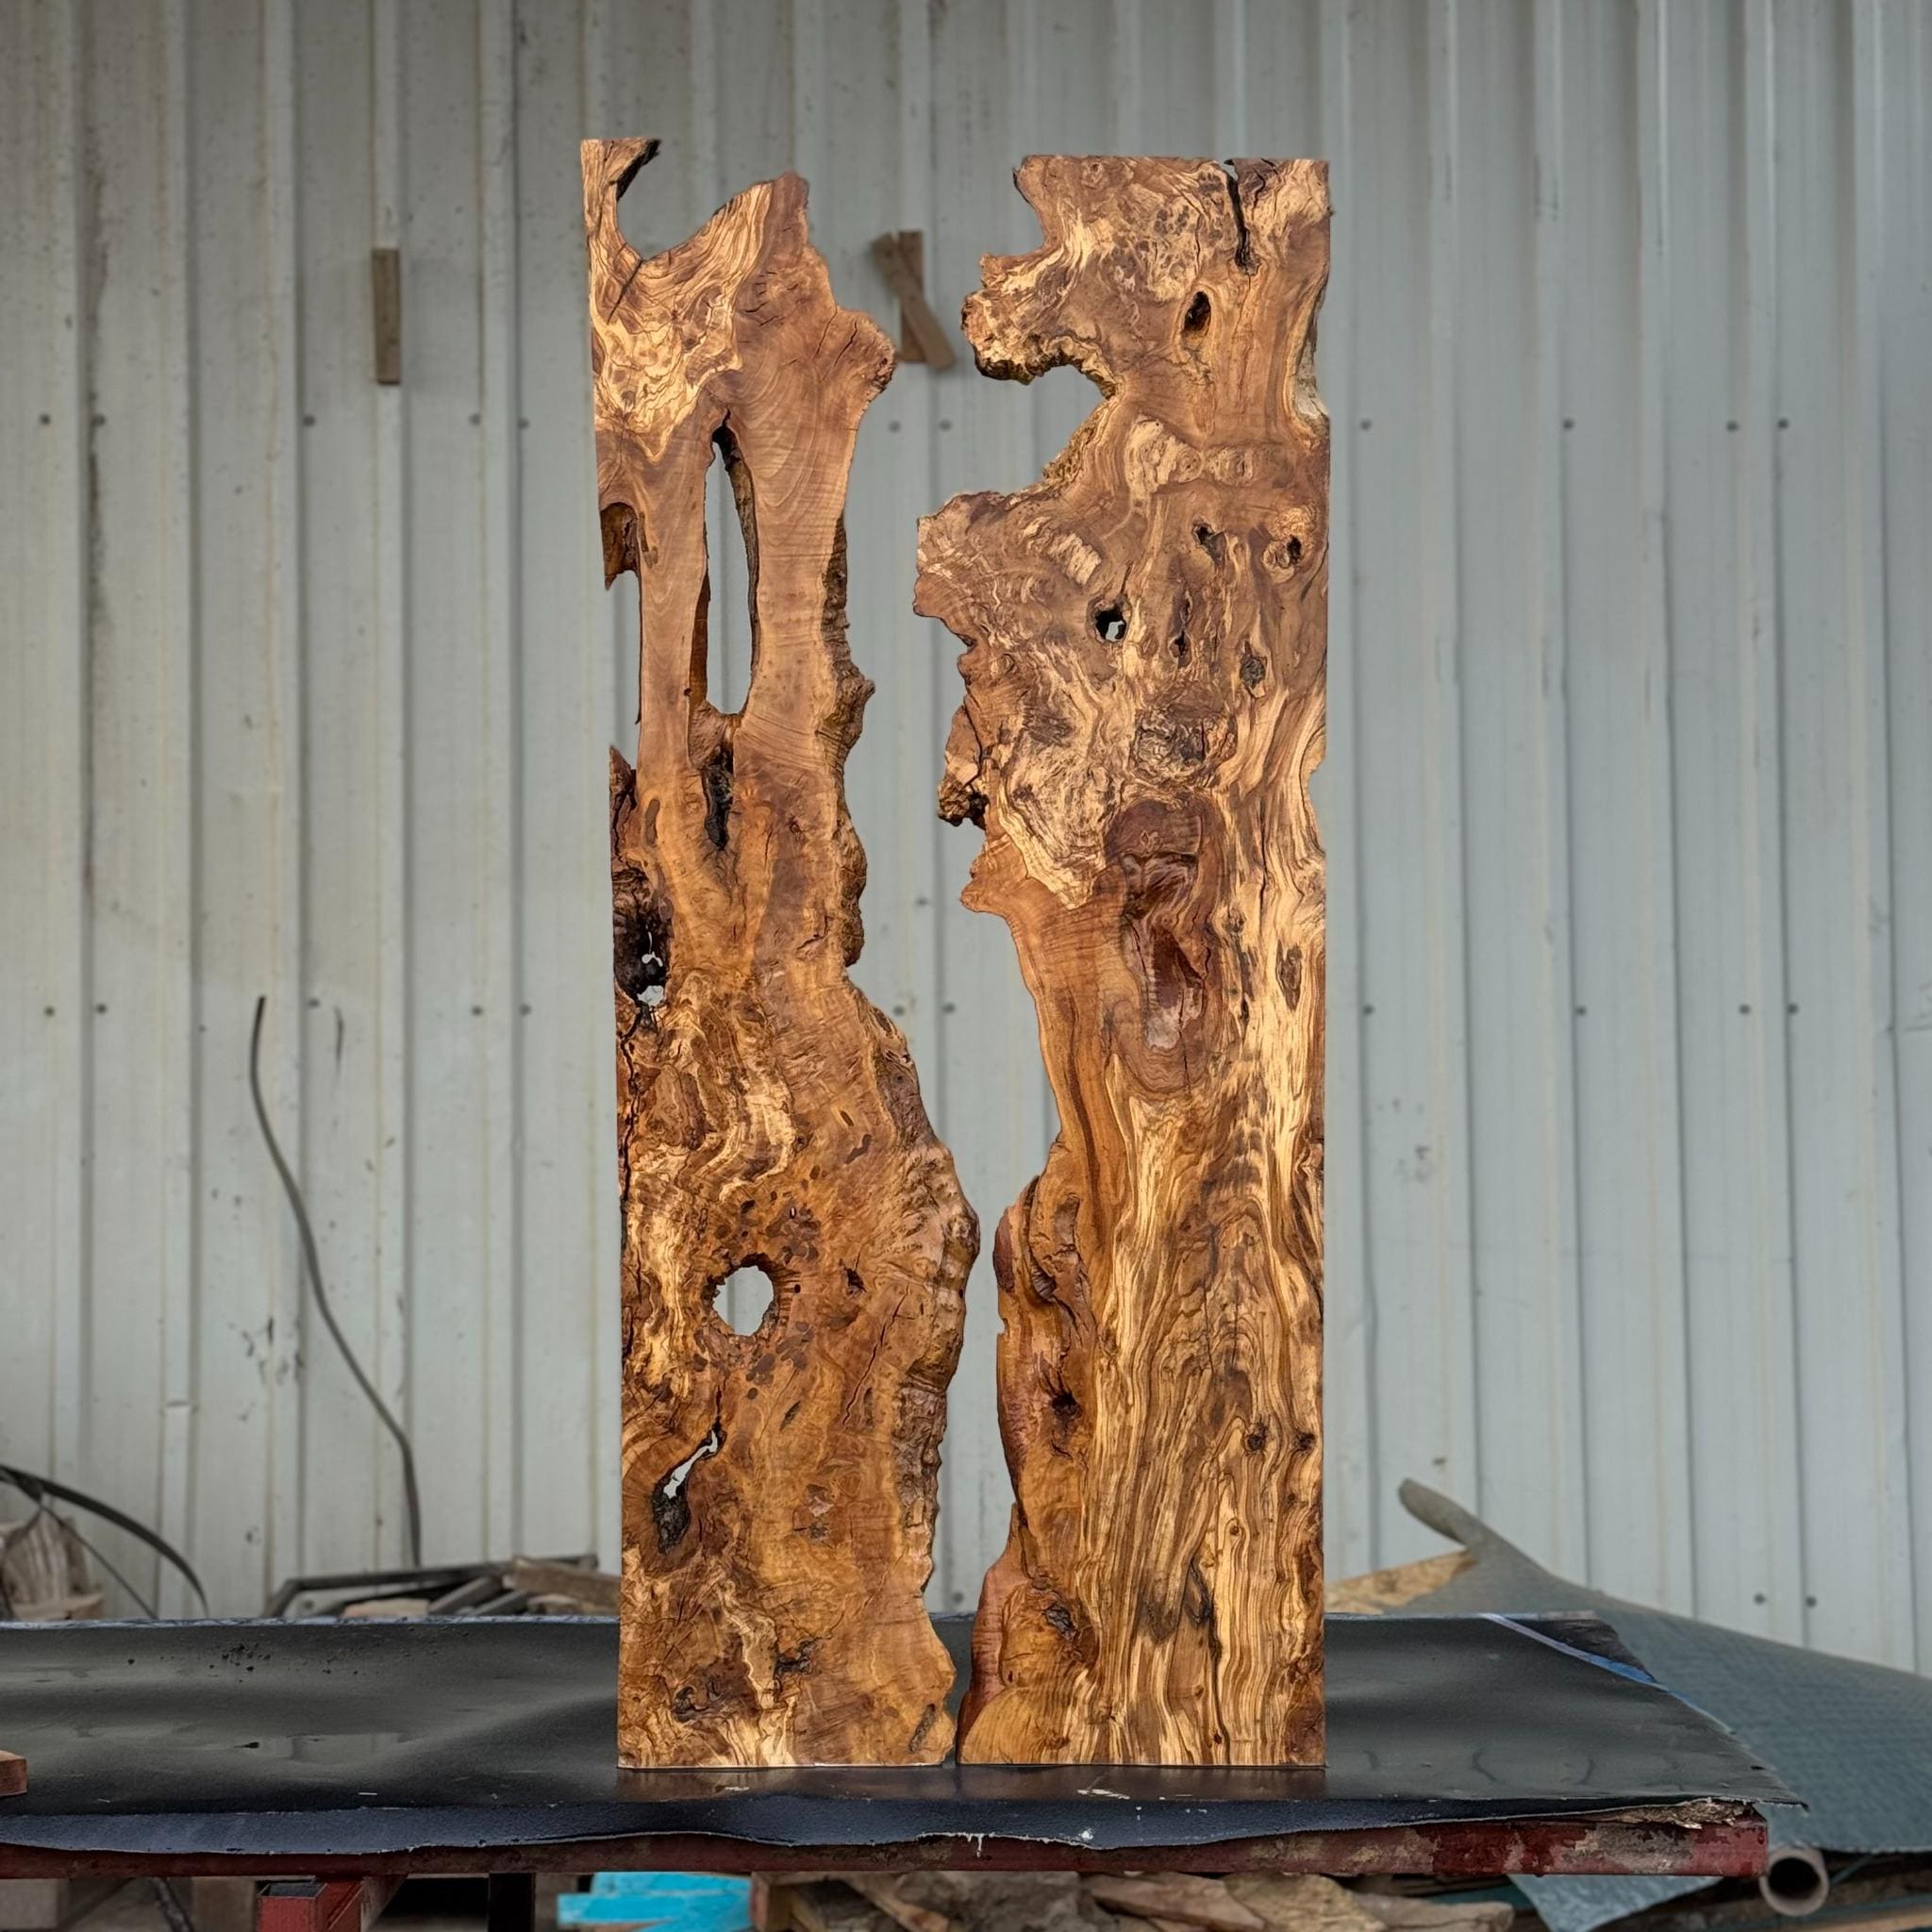
Choose the visible face and orientation of olive wood before you finalise the cutting plan. Compare both faces, rotate the proposed layout and mark the finished outline. This helps you decide which grain features belong at the centre of the design and which will remain visible after preparation. The photograph shows two upright olive wood pieces with different flowing grain patterns and an irregular space between their inner edges. Their arrangement is a useful starting point for comparing visual movement. It does not, by itself, establish that they are a bookmatched pair.
How do you decide which face to show?
Ask for clearly labelled photographs of face A and face B in similar lighting. Compare the features you care about: a sweeping dark line, a cluster of small patterns, the amount of lighter wood, or the relationship between grain and outline. Include practical details such as openings and the intended working area. There is no single best face for every project. A quieter composition may suit a writing surface, while a pronounced feature may be the focus of a decorative panel. State what you want the eye to notice first, then choose the face that best supports that aim.
What changes when you turn a piece around?
Rotating a piece can move a prominent feature closer to the viewer or change how the grain leads across a room. Compare at least two orientations from the viewing position that matters: seated beside a table, entering a hallway or facing a wall panel. A useful paper exercise is to place a print of the wood inside a drawing of the finished outline. Turn the print through 180 degrees, then compare the two versions. Mark a preferred direction with an arrow and label the intended front edge so your maker can reproduce the decision.
How should two pieces relate to each other?
Decide whether the goal is symmetry, a continuous visual flow or a deliberate contrast. A similar colour does not mean the grain will mirror, and two pieces shown together are not automatically supplied as a matched set. Confirm both the relationship and the included quantity in the listing. For a river table, compare the outer shape and the changing centre gap in the same view. Moving the pieces to improve the grain composition may also change the channel. See planning a bookmatched pair and centre gap for a layout method, and check the listing before describing any pair as bookmatched.
What should be marked before trimming?
- The selected visible face and its orientation.
- The proposed finished outline and areas to be removed.
- Grain features or natural edges you hope to retain.
- Openings to discuss with the maker.
- The intended front, wall side or main viewing direction.
Label features as priorities rather than assuming every part can survive the preparation. Ask your maker to review the drawing against the actual material and required finished size. A favourite detail near a cut line needs particular attention before that outline is approved.
What is the simplest way to agree the design?
Save one labelled layout image with the selected listing, units and finished dimensions. Use it alongside the written specification so that “this face” and “this direction” are unambiguous. Browse olive wood slabs and slices, review the difference between overall and usable dimensions, then share your preferred layout with us.